

Remodeling

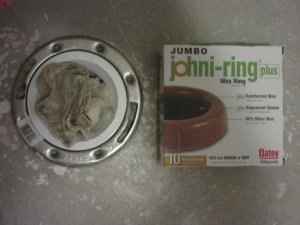
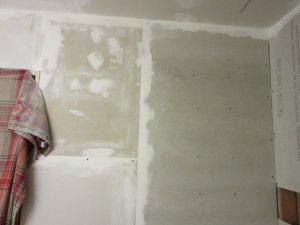
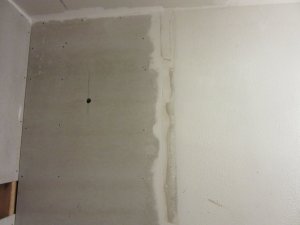
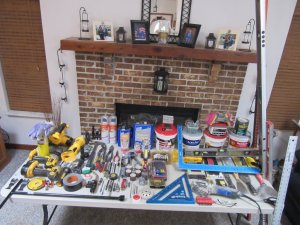
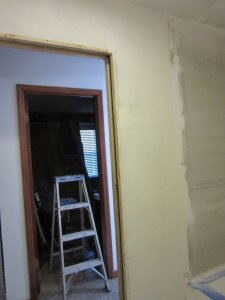
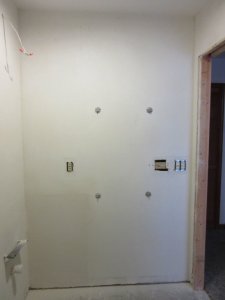
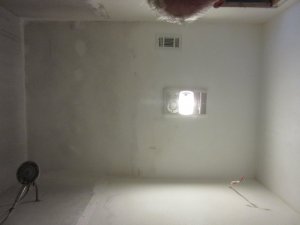
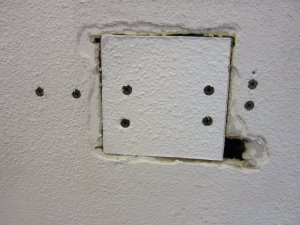
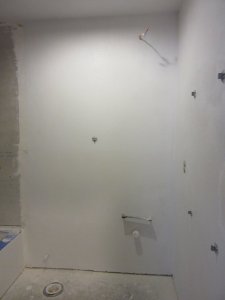
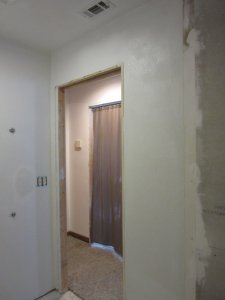
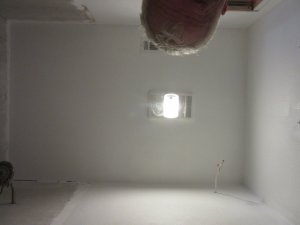
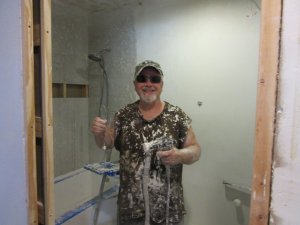
:hello: This Morning I spent 2 hours in LOWES buying plumbing supplies. I bought some of each drain fittings for the bath tubs 2 drains. I spent $200. Yesterday I put on the first coat of drywall mud on the bathroom ceiling, walls and hall wall. This Morning I sanded all the drywall mud. IMG_8023.JPG IMG_8024.JPG IMG_8025.JPG
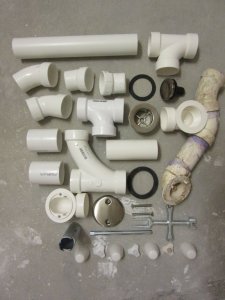
 
I usually use my drywall knife to knock down the really bad spots and use a damp sponge instead of sanding on the first coat of mud.

I hate mudding drywall.
 
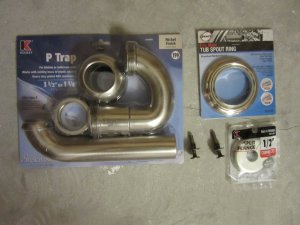
:hello: MARKUS: Pic #1 is all the hardware for the bathtub. Pic #2 is the brushed nickel P-trap set which is for the new under the counter mount bathroom sink.
 
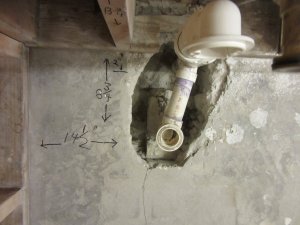
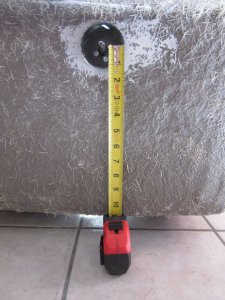
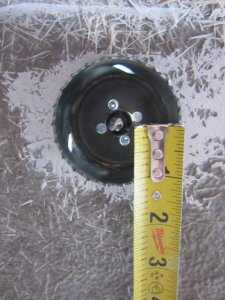
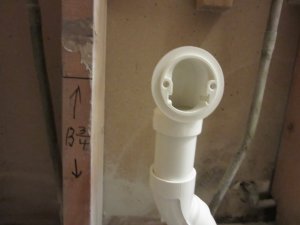
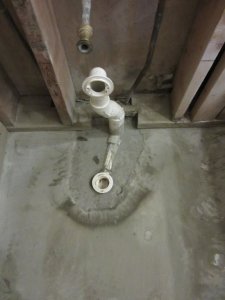
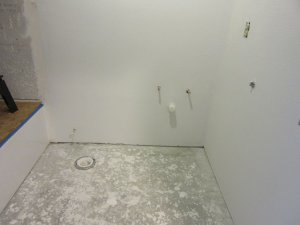
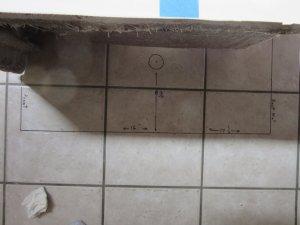
:hello: This morning I took measurements for the bath tubs drain and over flow drain. I made a pattern outline of the tub on my tile using a black sharppie. :laughing7:. Then I transfered all the measurements onto the bath room floor. The new tubs drain is in the same location as the old tub which is what was used before in the floor. I redone the over flow drain with new piping. When measuring for the height of the overflow pipe I used my largest key hole bit to find the center of the tubs overflow then measured to the floor. Then transfered that measurement to the bathroom. IMG_8029.JPG IMG_8031.JPG IMG_8027.JPG IMG_8028.JPG IMG_8032.JPG
 
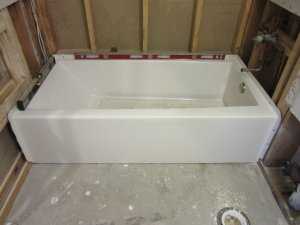
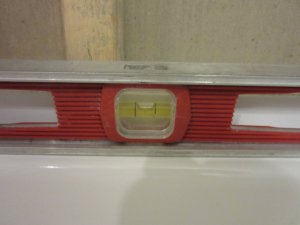
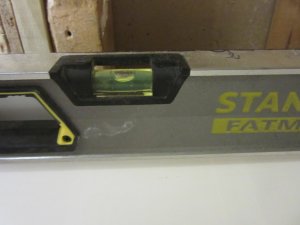
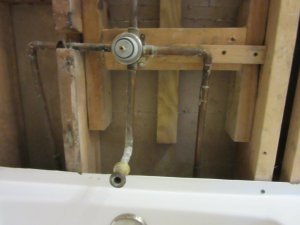
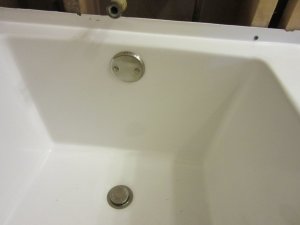
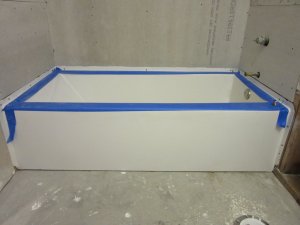
:hello: This past Thursday I poured concrete in at the floors bath tubs drains. Today I set, leveled and screwed the bath tub to the studs and installed the 2 drains brushed nickel hardware. We are going to fill the bath tub with water for flushing toilets. If this hurricane hits us we may loose water. As of now it looks like the hurricane is going to skrit the East Coast of FL. _______________________________________________ IMG_8037.JPG IMG_8038.JPG IMG_8039.JPG IMG_8040.JPG IMG_8041.JPG IMG_8042.JPG
 
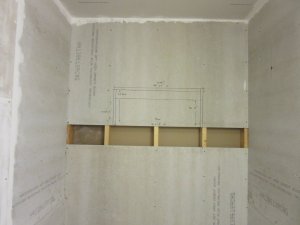
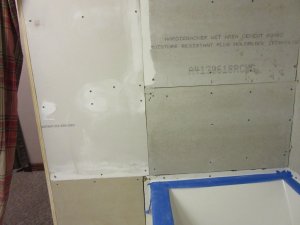
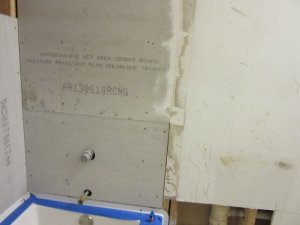
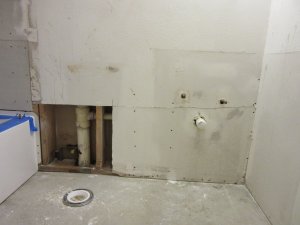
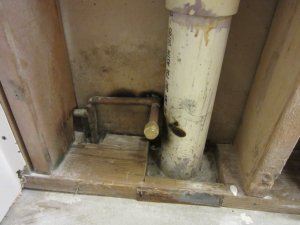
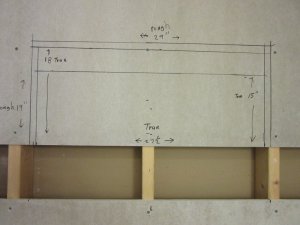
:hello: Late this afternoon I installed 3 sheets of dura rock around the lower part of the bath tubs 3 walls and I put back the section of drywall that goes behind the sink. I had to take it out so that I could cut off the sinks drain flush with the walls studs so that I could get the new tub in. My wife wants a recessed shelve put in the shower stall. It's going to be 27 inches wide and 15 inches tall. I'll have to remove part of the center stud. IMG_8043.JPG IMG_8044.JPG IMG_8045.JPG IMG_8046.JPG IMG_8047.JPG IMG_8048.JPG IMG_8049.JPG IMG_8050.JPG IMG_8051.JPG
 
Last edited:
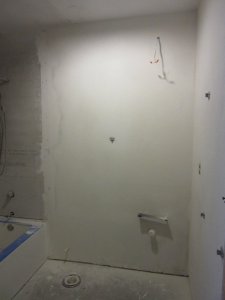
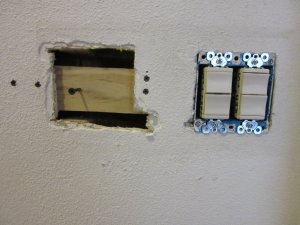
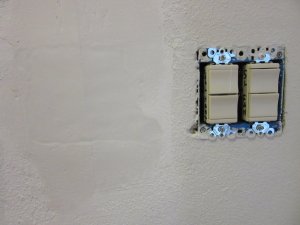
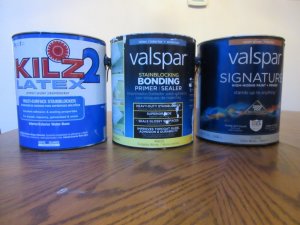
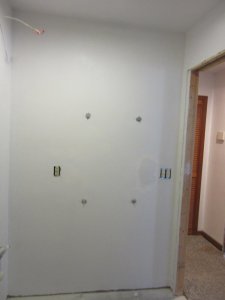
:hello: Haven't been doing much on the hall bathroom. Life keeps getting in the way. I done the second coat of drywall and sanded it. Got all the orange peel done. Time spent 7 hours. Also I did away with 4 large paddle switches and went with the double stack ones which eliminated one 2 gang box. I had to go in the attic and move some wires around in the light/fan/heater unit so that all 3 will have their own switch. I waited until 10 PM to go in the attic. It was still 90*. Time spent on the electrical redo 4 hours. I have some drywall touch up to do. Next up is a coat of KILLS primer. Then a coat of bonding primer. IMG_8054.JPG IMG_8064.JPG IMG_8065.JPG IMG_8066.JPG IMG_8067.JPG IMG_8063.JPG IMG_8068.JPG
 
Last edited:
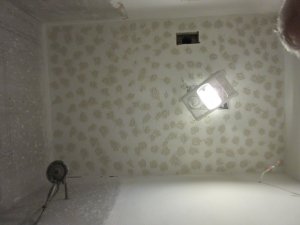
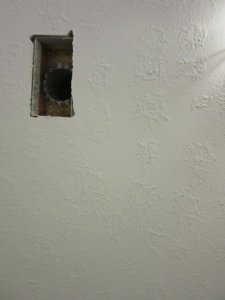
:hello: I got all the drywall done in a coat of KILLS stain blocker primer. Also finished off the deleted 2 gang switch hole with drywall mud. Next up is to do knock down on the ceiling, finish up with some drywall mudden and orange peel. Also a coat of bonding primer. ______________ IMG_8079.JPG IMG_8080.JPG IMG_8081.JPG IMG_8082.JPG IMG_8078.JPG
 
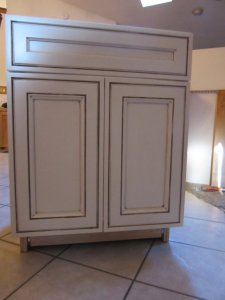
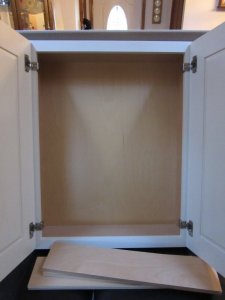
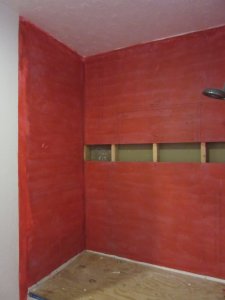
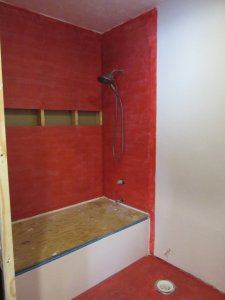
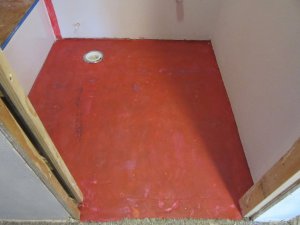
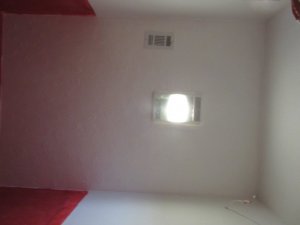
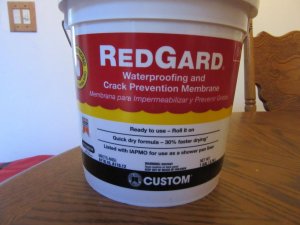
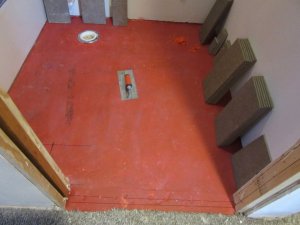
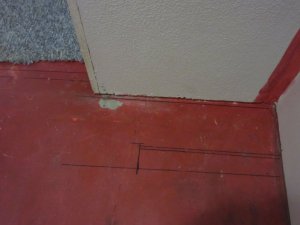
:hello: Today our sink Vanity (24" wide x 32" tall x 21" deep) and cabinet (24" wide x 30" tall x 7" deep) was delivered from Dimond Cabinets out of NC. Both are all wood construction. They was a 5 week turn around time. I put a coat of RED GUARD on the cement board and floor. Also painted the ceiling. IMG_8122.JPG IMG_8123.JPG IMG_8124.JPG IMG_8125.JPG IMG_8116.JPG IMG_8117.JPG IMG_8118.JPG IMG_8120.JPG IMG_8119.JPG IMG_8121.JPG
 
Last edited:
Gotta love that drawer! Perfect place for a .380!
 
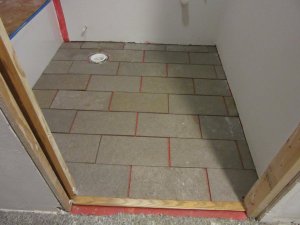
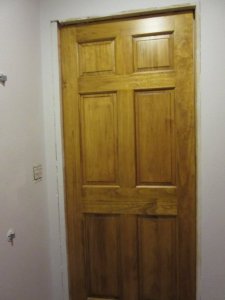
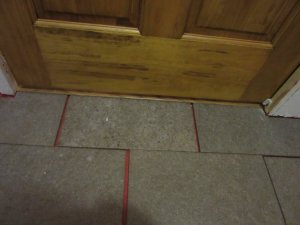
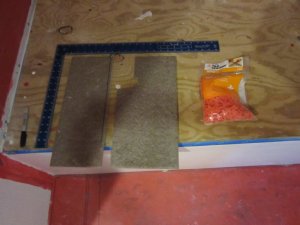
:hello: I cut all the tile for the floor and test fitted it along with the wood flooring transition trim. I also hung and aligned the 6 panel solid wood door. IMG_8131.JPG IMG_8136.JPG IMG_8141.JPG
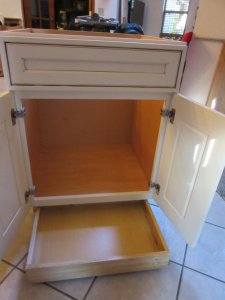
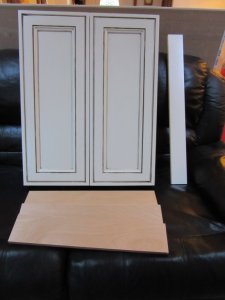
 
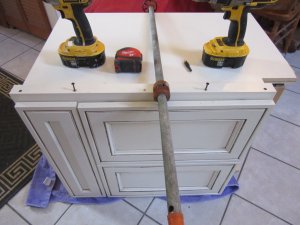
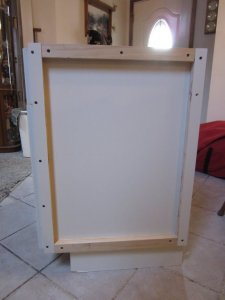
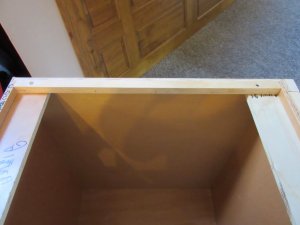
:hello: I put the 1 inch filler on the right front side of the vanity which is needed when opening the doors. I did more than just the front edge because when I bolt it to the wall I do not want it to shift. I also put a strip across the back to make it more rigid. ___________________________________ IMG_8147.JPG IMG_8149.JPG IMG_8150.JPG
 
Looking good. Nice cabinetry, way better than the big box stores sell.
 
:hello: Thanks. :notworthy:. All the cabinetry that LOWS and HOME DEPOT stocked was JUNK. It was all made of that pressed board crap. DIAMOND Cabinrt Builders also done our Kitchen Cabinets. They are very expensive. Our Kitchen cabinets was $6800 and our hall bathrooms 2 pieces was $1460. You pay for what you get as thet say.
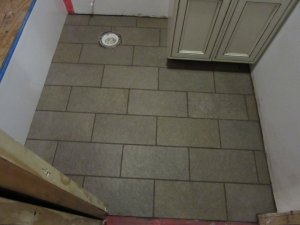
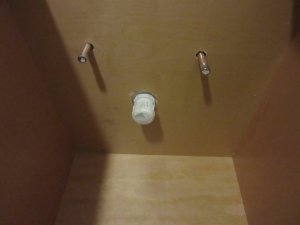
 
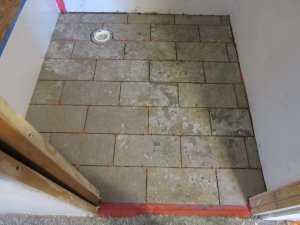
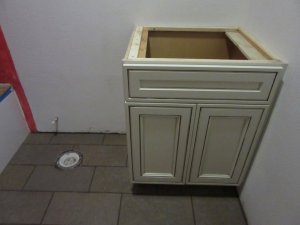
:hello: Today I grouted the ceramic tile and mounted the vanity. I used this new grout. It is not cement base. It's acrylic and is all ready mixed. It has less work time and dries in 15 minutes after being worked in and sponged.________________________________________________ IMG_8151.JPG IMG_8153.JPG IMG_8152.JPG
 
Looking good. That acrylic grout is sort of rubberized. I know you are on a slab but that is the thing to use on second floors.
 
Back
Top