madmanncr500
Senior Member
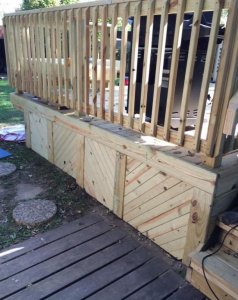
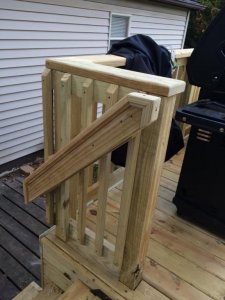
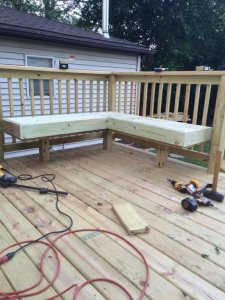
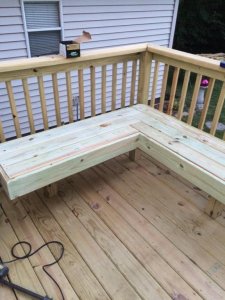
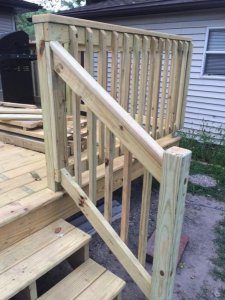
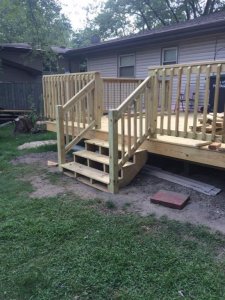
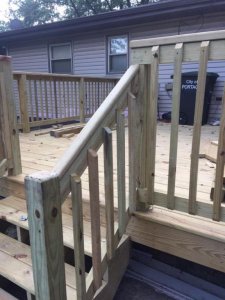
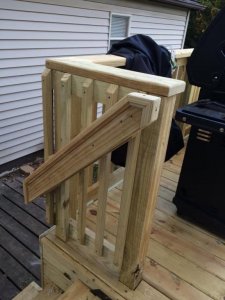
You do good work young man!!!


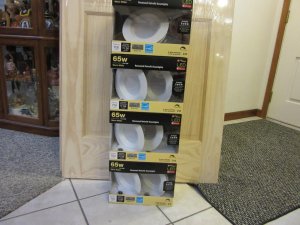
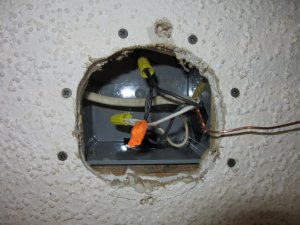
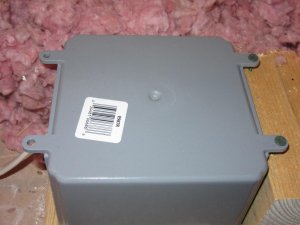
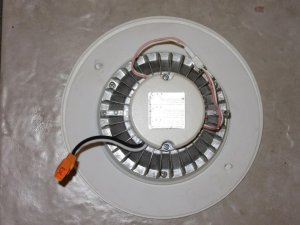
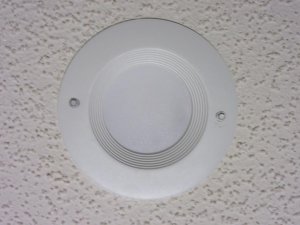
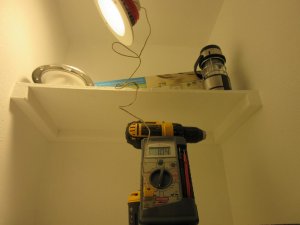
 I spent yesterday & today installing 7 Utilitech recessed 13 watt = 65 watt LED lighting in 3 closets, master bath shower & 3 in 2 hall ways. They cost $30 for 2. I made my own conduit boxes. The ones that was to be used cost $20 each which are to tall because I have a floor in my attic. I bought 7 gray 6"x6"x4" no hole conduit boxes for $8 each. I left one on all day just to see how hot the heat sinks get. 104* F. So the heat sinks are doing there job in keeping the built in transformer cool.

 That's 2 things that I'd prefer not do do for a living.
  It is hard work. Thanks for the complements. I always say I'm a jack of all trades & a master of none except for making & testing weapons of mass destruction.
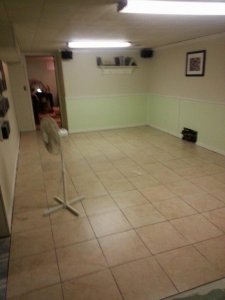
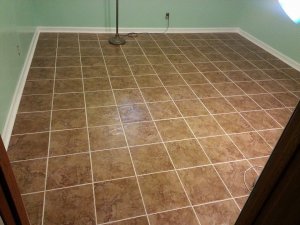
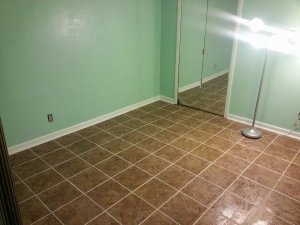
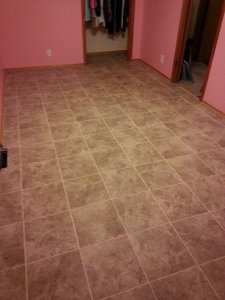
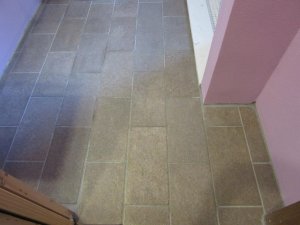
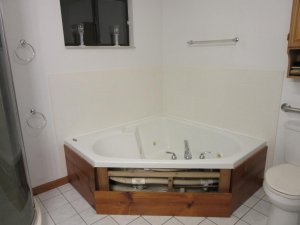
Finished up touchings such as paint & caulk this morning on our new 2 person Jacuzzi in our master bath. Tubs been in for awhile now. Did the tile Friday & grouted yesterday. I like the old school tile. I think anything bigger looks out of place in such a small area. This tub listed for $1100. I picked it up at Lowes for $300. It was the display unit with a few scratches but I was able to rub them out & it was the last one.
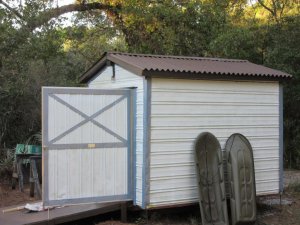
I had to shift to doing outside work for now. I needed to re-roof my shed. It had a metal roof. It had several holes & was rusted. I went with the wave shingle type. I need to use it for more storage. I spent Friday & today on it. I'm going to insulate & side the inside of it. I'm also going to run lights for inside & out along with some outlets.
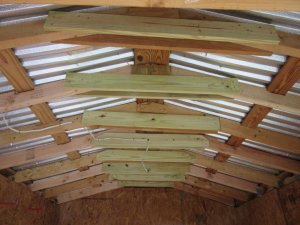
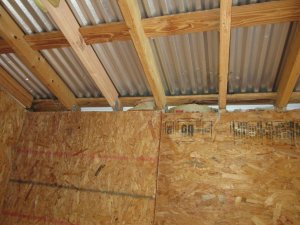
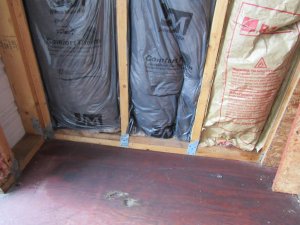
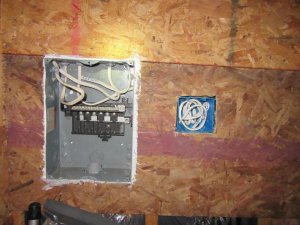
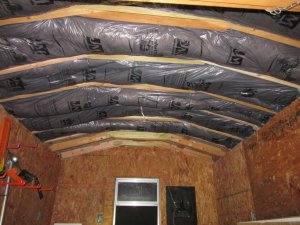
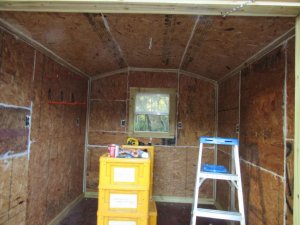
Between yesterday & today I ruffed in the electrical. Used R13 insulation on the walls & celing. Installed 6 120 volt outlets & 1 GFI outside outlet. I installed 2 light switches one for the outside light & one inside light. I used 1/2 OSB for the inside walls & the ceiling. The shed had 24 to 27 inch on center studs so I added a stud between each existing stud & did the same for the roofs trusses. I also replaced all the rusty hardware on the aluminium siding.
It is hard work. Thanks for the complements. I always say I'm a jack of all trades & a master of none except for making & testing weapons of mass destruction.
Finished up touchings such as paint & caulk this morning on our new 2 person Jacuzzi in our master bath. Tubs been in for awhile now. Did the tile Friday & grouted yesterday. I like the old school tile. I think anything bigger looks out of place in such a small area. This tub listed for $1100. I picked it up at Lowes for $300. It was the display unit with a few scratches but I was able to rub them out & it was the last one.
I had to shift to doing outside work for now. I needed to re-roof my shed. It had a metal roof. It had several holes & was rusted. I went with the wave shingle type. I need to use it for more storage. I spent Friday & today on it. I'm going to insulate & side the inside of it. I'm also going to run lights for inside & out along with some outlets.
Between yesterday & today I ruffed in the electrical. Used R13 insulation on the walls & celing. Installed 6 120 volt outlets & 1 GFI outside outlet. I installed 2 light switches one for the outside light & one inside light. I used 1/2 OSB for the inside walls & the ceiling. The shed had 24 to 27 inch on center studs so I added a stud between each existing stud & did the same for the roofs trusses. I also replaced all the rusty hardware on the aluminium siding.
 :rr:
:rr:
 SNOW....Only snow in Florida go up der nose......:rr:
When it's 95 outside in my metal shed the temp reaches 160*. I know this because I have a oven thermometer in it. I also insulated my garage before the dry wall went up & I paid an extra $100 to have the attic over the garage blown in with insulation. What I can't believe is all you snow Country guys do not insulate your garage & or sheds.
Everything looks good.
SNOW....Only snow in Florida go up der nose......:rr:
When it's 95 outside in my metal shed the temp reaches 160*. I know this because I have a oven thermometer in it. I also insulated my garage before the dry wall went up & I paid an extra $100 to have the attic over the garage blown in with insulation. What I can't believe is all you snow Country guys do not insulate your garage & or sheds.
Everything looks good.
 :rr:
:rr: